Educational videos make learning more engaging and fun for students—even when classes are held remotely. Learners increasingly expect online content to be accessible. However it’s important that it is easy and quick for teachers to produce without adding to the workload.
Creating engaging educational videos shouldn’t be that challenging. In fact, with the use of the right tools and a bit of expertise, it can be simpler to create effective, interactive videos that can help students learn things easily.
Here we will show you how to make great educational videos to keep your students engaged without compromising your natural teaching style.
Choose the Right Length for Your Educational Video:
Because you might be used to an hourly-long class session, this won’t necessarily be the best approach when creating online training. There are a few options to adapt the existing content to an online format.
Firstly, record your usual content but then cut this into short bite sized elements. If you are lecturing, your content will naturally fall into a series of short subheadings. This may be between 5-10 minutes. We recommend each of those elements are cut into distinct chapters. This gives the learner an opportunity to pause between chapters and means learning can become a self-paced process.
Create a Script and Storyboard:
A script will let you determine how your video will go and how it will sound.
Create the list of points you want to cover, and then write the script based on that list.
However if you are confident with your material you may wish to speak as if you are speaking to a class. Don’t be afraid to speak in your usual, natural style.
If you feel stilted on camera, create a series of questions and have someone ‘interview’ you. This is a great way to capture content.
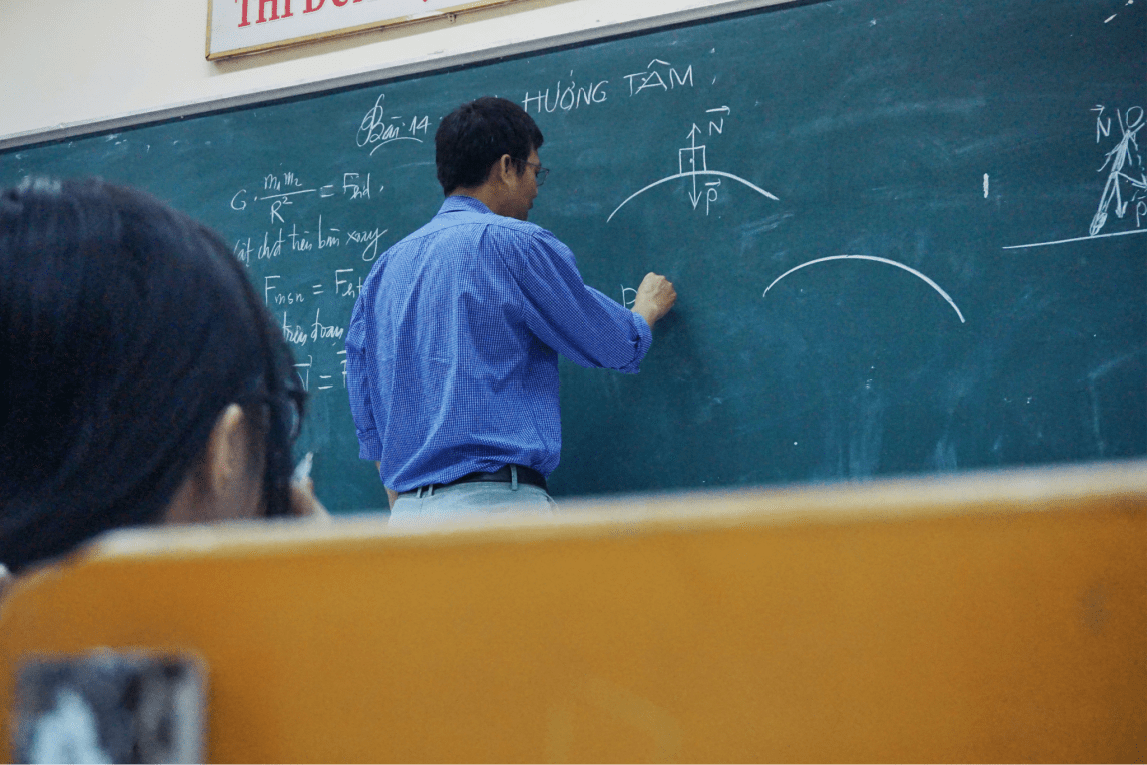
Record the Video:
From an average smartphone to a professional camera, there are many tools to create an educational video.
Whatever device you choose, make sure it gives you a quality output.
Consider shooting in a location with good natural lighting during the daytime, or you can use a special light to give your educational video a bright feel.
A quality microphone is also required to help your lessons come through clear and loud on the video.
One of the simplest ways to record is to launch a Zoom meeting (just for 1!). Make sure your background setup looks good, the room is quiet and your face is well lit. Zoom has some great inbuilt features to create a good quality video.
Then simply present your material as if you were presenting to a room full of students. You can share your screen or launch a PowerPoint presentation if you wish.
Edit Your Video:
Admit it. This step must be sounding intimidating to you if you are not a pro. Don’t worry. There are many tools to refine your video.
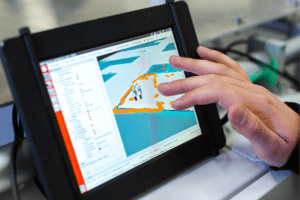
And one of them is VidVersity. Available as both a desktop tool and a mobile app, VidVersity helps create interactive videos to keep your audience engaged.
All you need to do is upload your video to the VidVersity platform. Then, you can edit your educational video by using the following features —
- Categorize your video into chapters so that your students have a nice overview of the topic and they can locate the important points as well.
- Add slides, notes and links to make your video more explanatory and engaging.
- Add true/false, multiple-choice questions and fill in the blanks to keep the audience engaged throughout the video.
- Add your own slides or PowerPoint. These slides can be updated, edited or stored in the dashboard of VidVersity.
It is easy to edit your educational video using VidVersity. Or you can send the video to us so that we can edit it for you.
We hope that these tips will help you create a great educational video while keeping the process streamlined for you. What do you think? Let us know by commenting below!